Best Diffuser Tips for Long Lasting Curl Definition
We know that achieving defined, bouncy curls is not just about the products you use. The way you dry your hair plays an equally important role. Air drying is gentle, but it can take hours, while regular blow drying often creates unwanted frizz and disrupts your curl pattern.
A diffuser is one of the best tools for curly hair because it dries curls evenly while maintaining their natural shape and volume. When used correctly, it helps reduce frizz, improve definition, and create long lasting bounce.
This guide explains exactly how to use a diffuser step by step for healthier, fuller looking curls.
What Is a Hair Diffuser?
A diffuser is a bowl shaped attachment that fits onto a hair dryer. Instead of directing concentrated hot air onto one area, it spreads airflow evenly across your curls.
This gentle airflow helps:
- Reduce frizz
- Protect the curl pattern
- Add natural volume
- Speed up drying time
- Minimize heat damage when used correctly
For naturally curly, coily, and wavy hair, a diffuser is often a better option than direct blow drying.
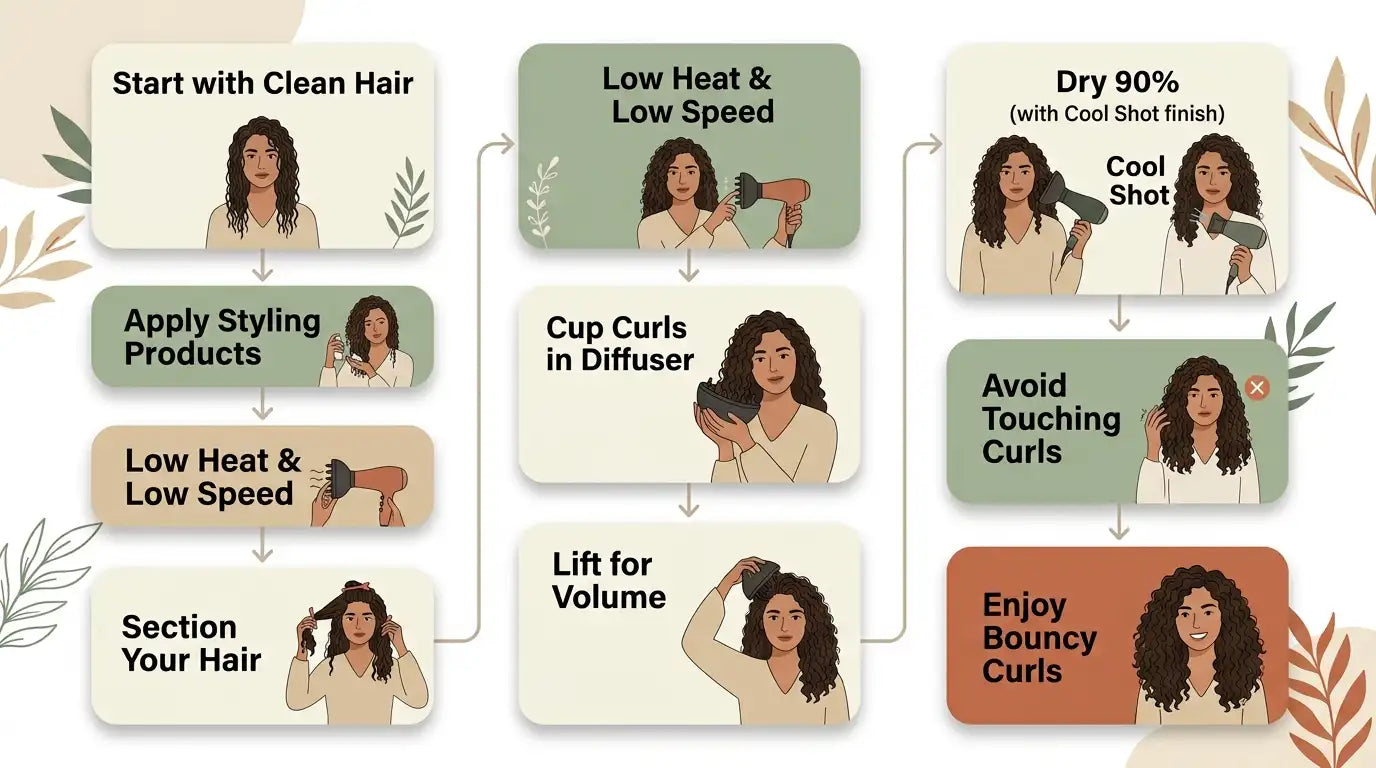
Step 1: Start with Clean, Hydrated Hair
Healthy curls begin with proper cleansing and hydration.
After washing your hair, gently squeeze out excess water using a microfiber towel or a soft cotton T shirt. Avoid rubbing the hair, as this roughens the cuticle and causes frizz.
Hair should remain damp before styling.
Step 2: Apply Your Styling Products
The right products create the foundation for well defined curls.
Work your styling products evenly through damp hair using your fingers or the praying hands method.
Depending on your curl type, consider using:
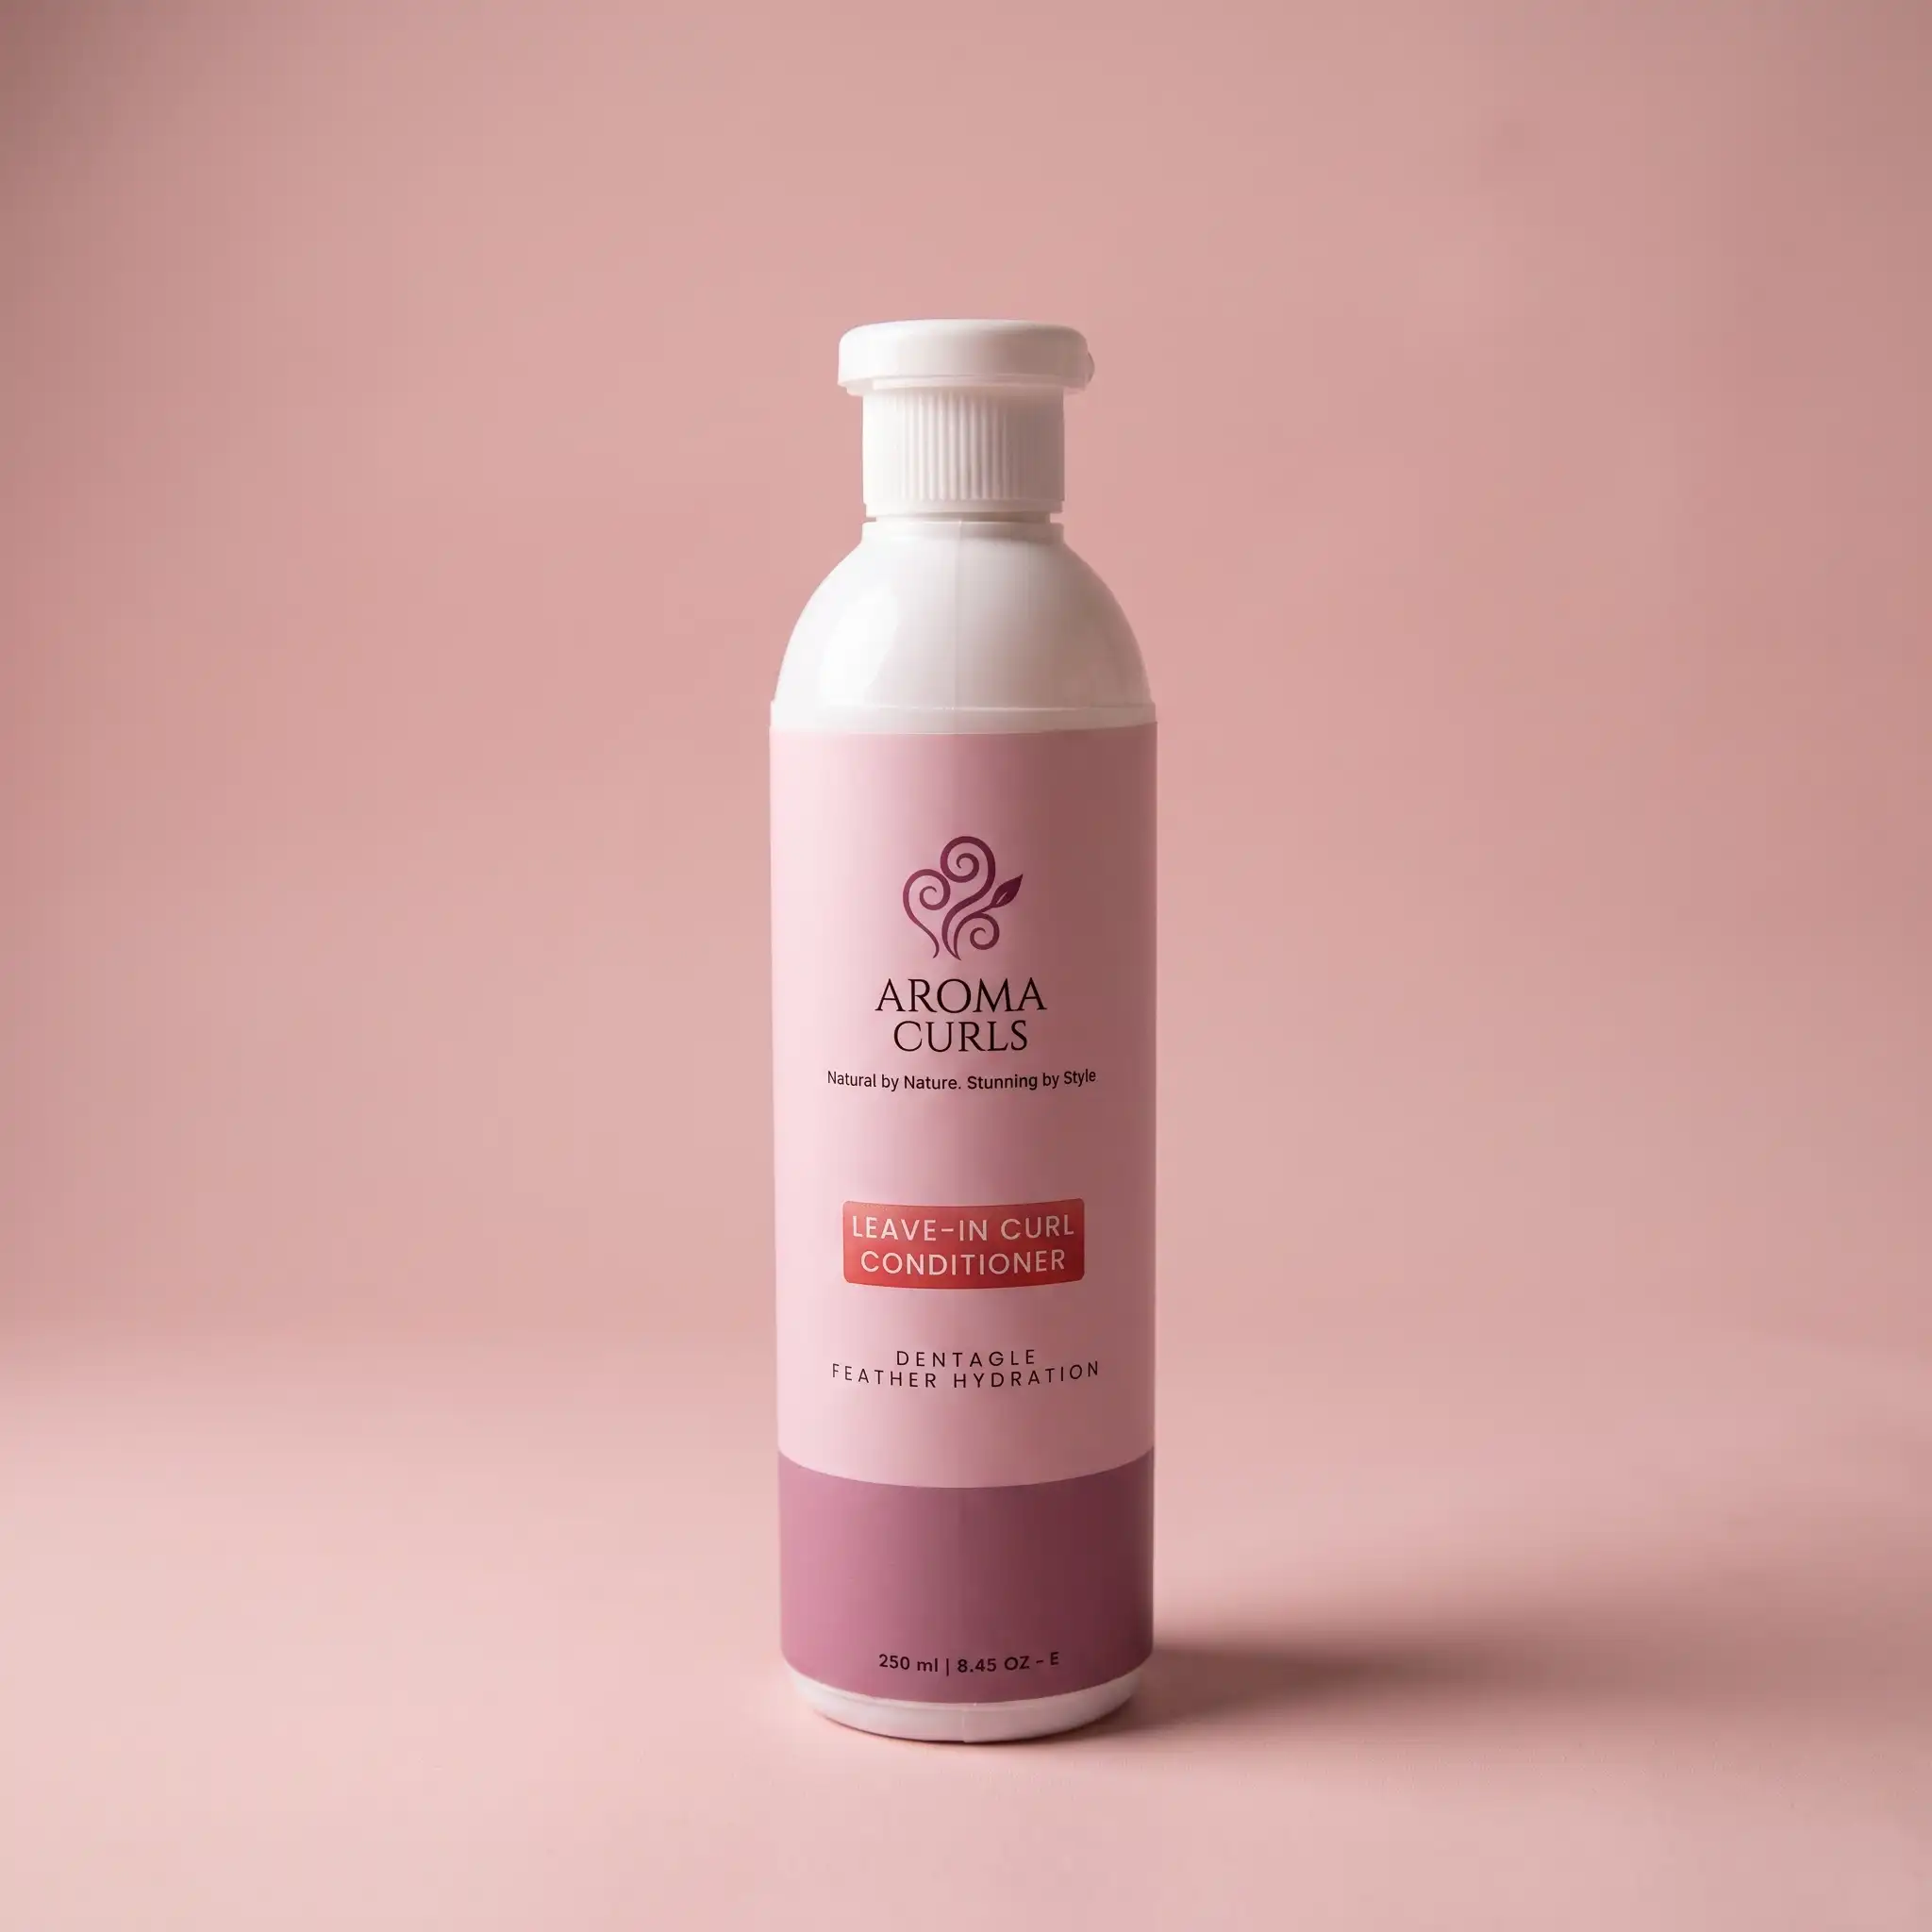
- Leave in conditioner for moisture
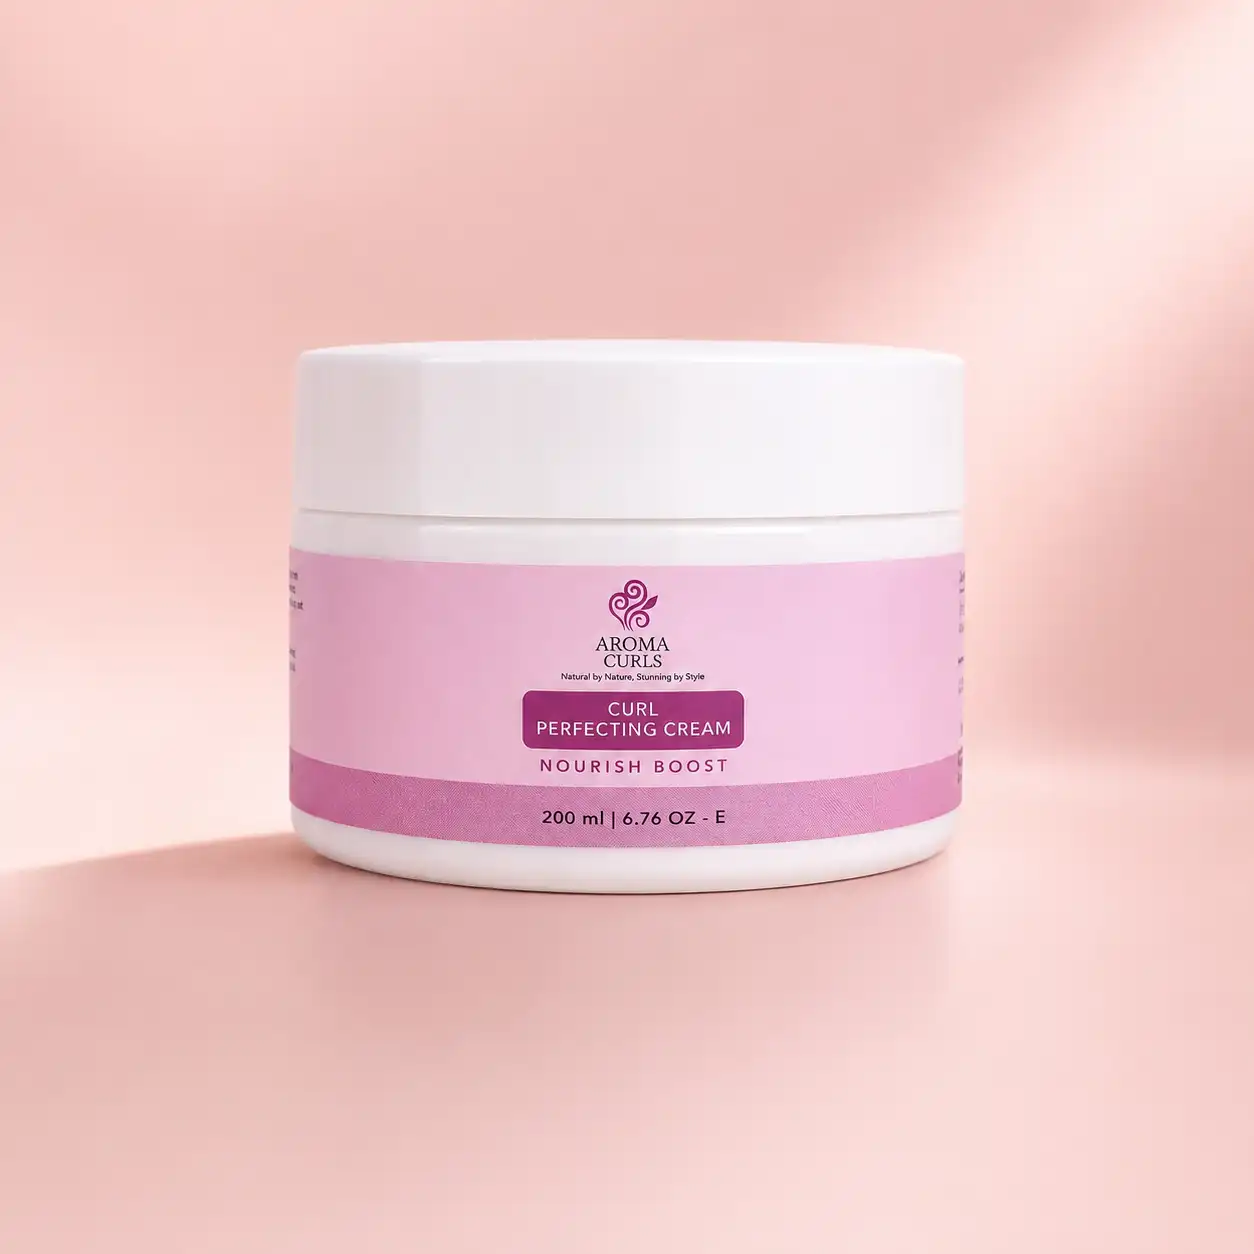
- Curl cream for definition
- Lightweight gel for hold
- Curl mousse for added volume
Distribute products evenly from mid lengths to ends before diffusing.
Step 3: Set Your Dryer Correctly
Heat settings matter.
We recommend:
- Low to medium heat
- Low airflow
- Cool shot at the end
High heat and strong airflow can separate curl clumps and increase frizz.
Step 4: Section Your Hair
Divide your hair into manageable sections.
Working section by section helps every curl receive even airflow and prevents over drying certain areas.
For thicker hair, four to six sections usually provide the best results.
Step 5: Cup the Curls into the Diffuser
Place a section of curls gently into the diffuser bowl.
Lift the diffuser upward until it reaches your scalp without crushing the curls.
Hold the position for around 20 to 30 seconds before moving to another section.
Avoid constantly moving the dryer around. Keeping it still allows curls to dry with better definition.
Step 6: Flip Your Head for Extra Volume
If you want fuller curls, flip your head upside down or tilt it from side to side while diffusing.
This technique lifts the roots naturally and creates more volume without excessive teasing or brushing.
Continue rotating your head as different sections dry.
Step 7: Dry Until About 90 Percent
You do not need to dry every strand completely.
Stopping at around 90 percent dryness helps retain moisture and reduces the chance of creating frizz from over drying.
Allow the remaining moisture to air dry naturally.
Step 8: Finish with the Cool Shot
Once your curls are almost dry, switch your dryer to the cool setting.
The cool airflow helps:
- Set curl definition
- Reduce frizz
- Add shine
- Extend style longevity
This simple step makes a noticeable difference.
Common Diffusing Mistakes to Avoid
Avoid these common errors for healthier curls:
- Using high heat
- Using maximum airflow
- Touching curls too often during drying
- Diffusing soaking wet hair
- Skipping heat protection products
- Separating curls before they are fully set
Small adjustments can significantly improve your final results.
Caring for Your Curls After Diffusing
Once your curls are completely dry, avoid excessive touching.
If your styling gel leaves a slight cast, gently scrunch your curls using clean hands or a few drops of lightweight hair oil to soften the finish while maintaining definition.
Night, sleep on a satin pillowcase or use a satin bonnet to preserve your curl pattern for longer.
Why Hair Health Matters More Than Styling
Beautiful curls begin with healthy hair. Even the best diffuser technique cannot replace consistent hydration, gentle cleansing, and nourishing ingredients.
We believe styling should enhance naturally healthy curls rather than compensate for dryness or damage.
Give Your Curls the Care They Deserve
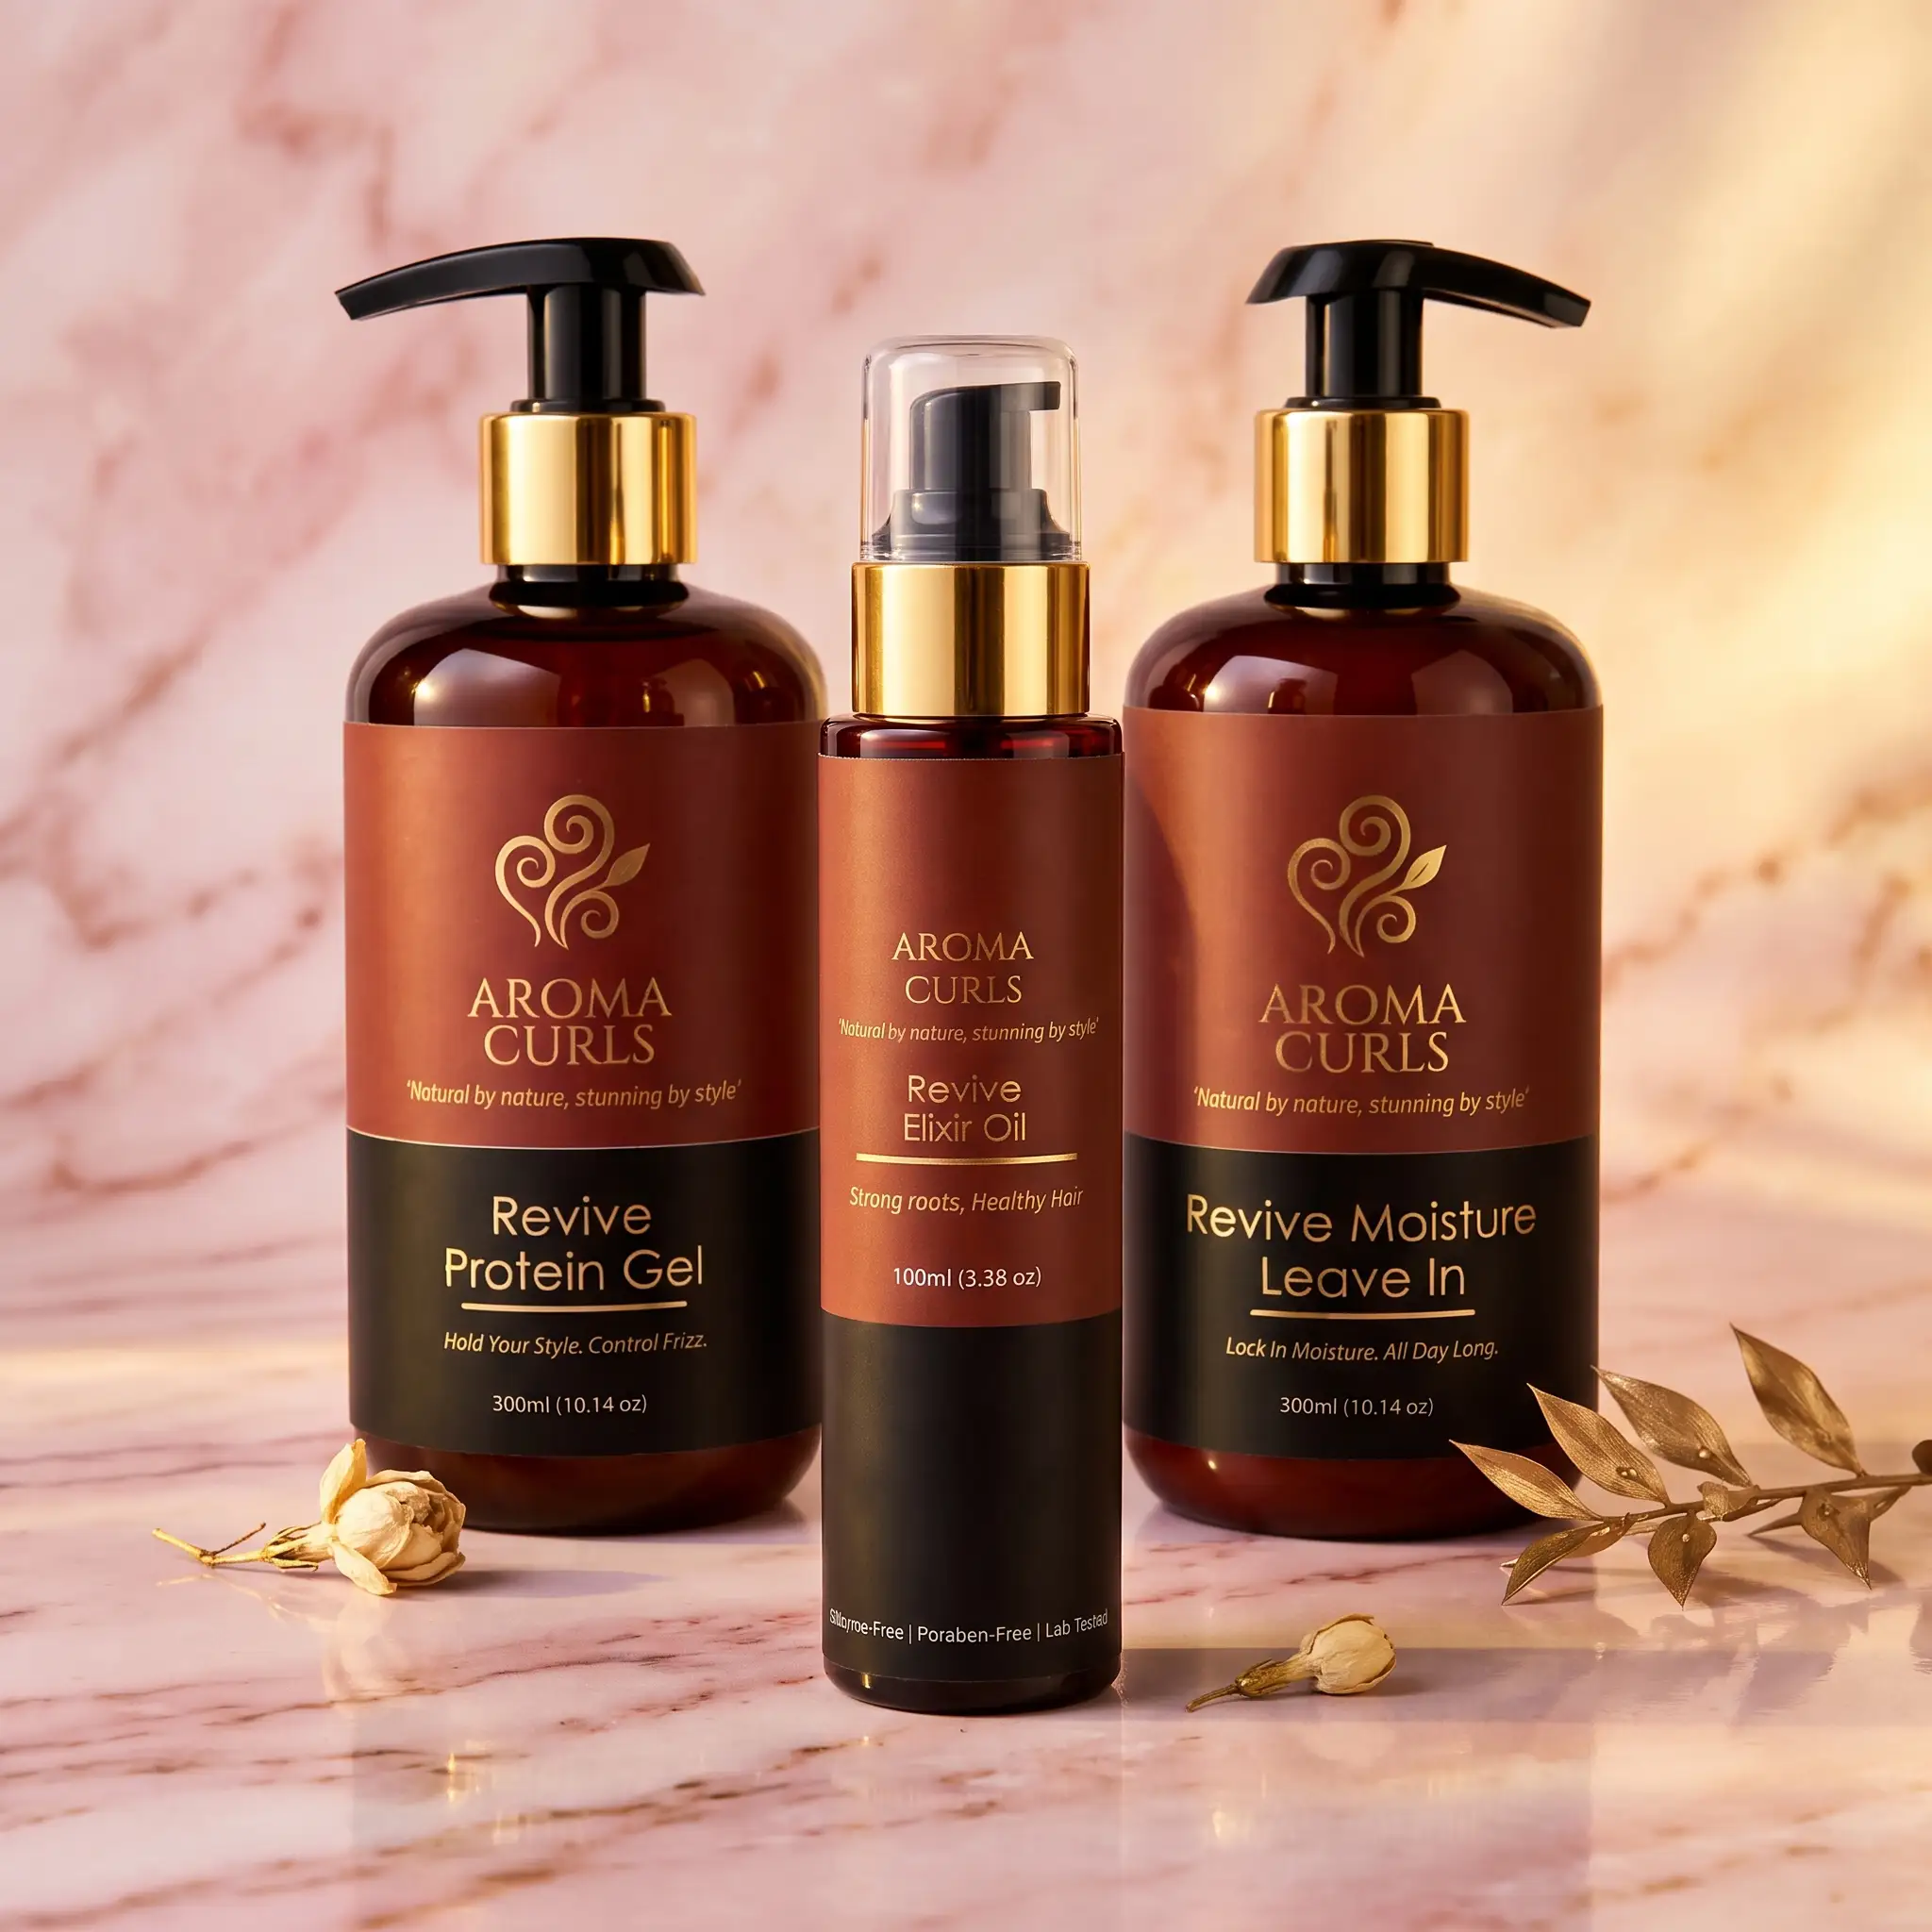
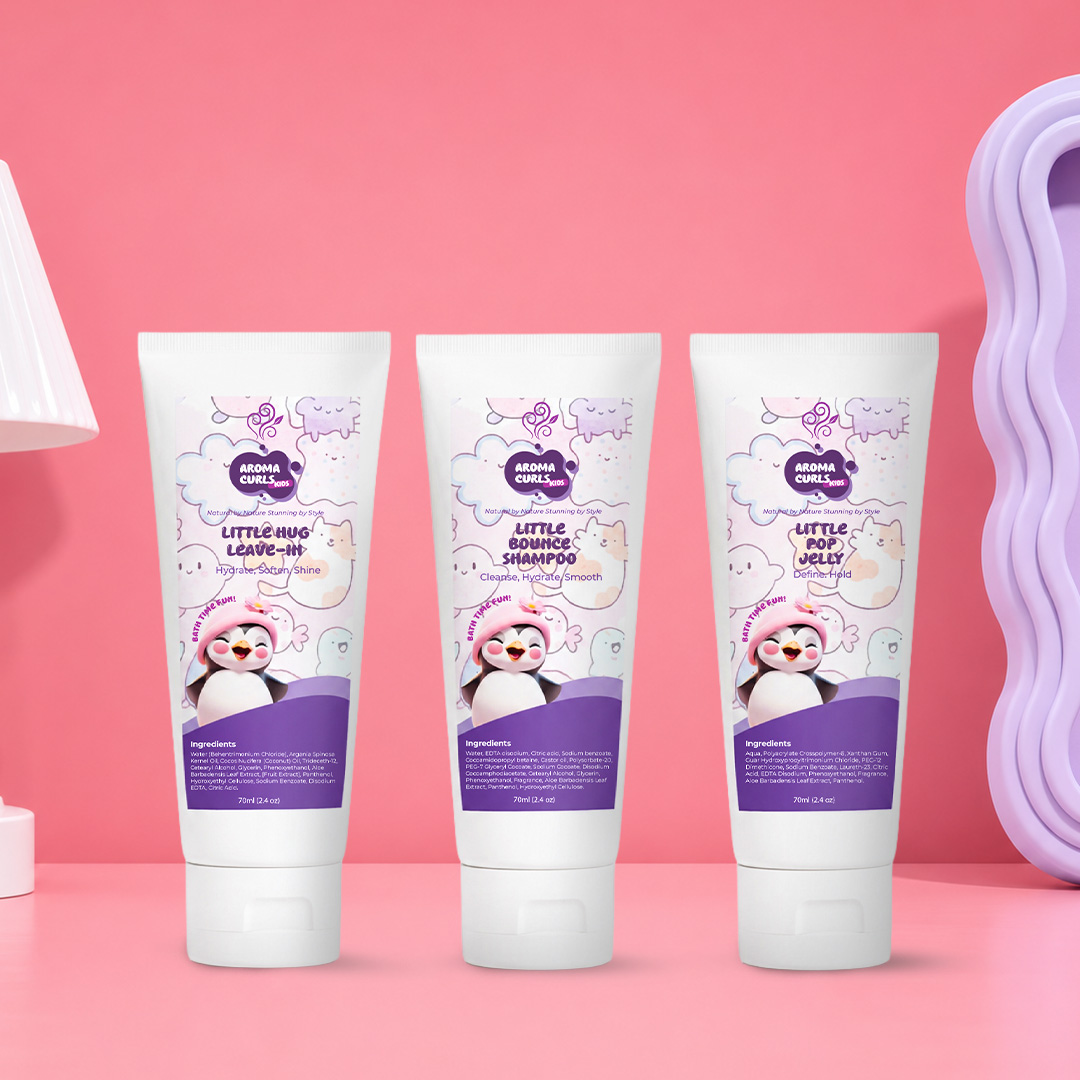
The right diffuser technique becomes even more effective when paired with a curl care routine designed for hydration and long term hair health. our botanical inspired, chemical free formulas are created to nourish natural curls, reduce dryness, and support beautiful definition for both adults and children. Whether you are building your daily routine or looking for complete curl care bundles, our collection is designed to help your curls look and feel their healthiest every day.