Simple Tricks to Make Your Curly Top-Knot Last Longer
Curly hair and top-knots are a perfect match when styled the right way. A hair donut helps create a fuller, more balanced bun without pulling too tightly on your curls. We always recommend protective styling methods that maintain curl definition while reducing breakage.
If you want a big, soft, curly top-knot that looks elegant and feels comfortable, a hair donut can make the process much easier.
Why a Hair Donut Works for Curly Hair
Curly hair naturally has volume, but sometimes top-knots can look uneven or feel too heavy at the roots. A hair donut creates structure and helps distribute your curls evenly around the bun.
This method is especially helpful for:
- Wash day styling
- Protective hairstyles
- Quick school or work looks
- Humid weather control
- Elegant event styling
The goal is not to flatten your curls but to shape them beautifully.
Step-by-Step Guide to Creating a Massive Curly Top-Knot
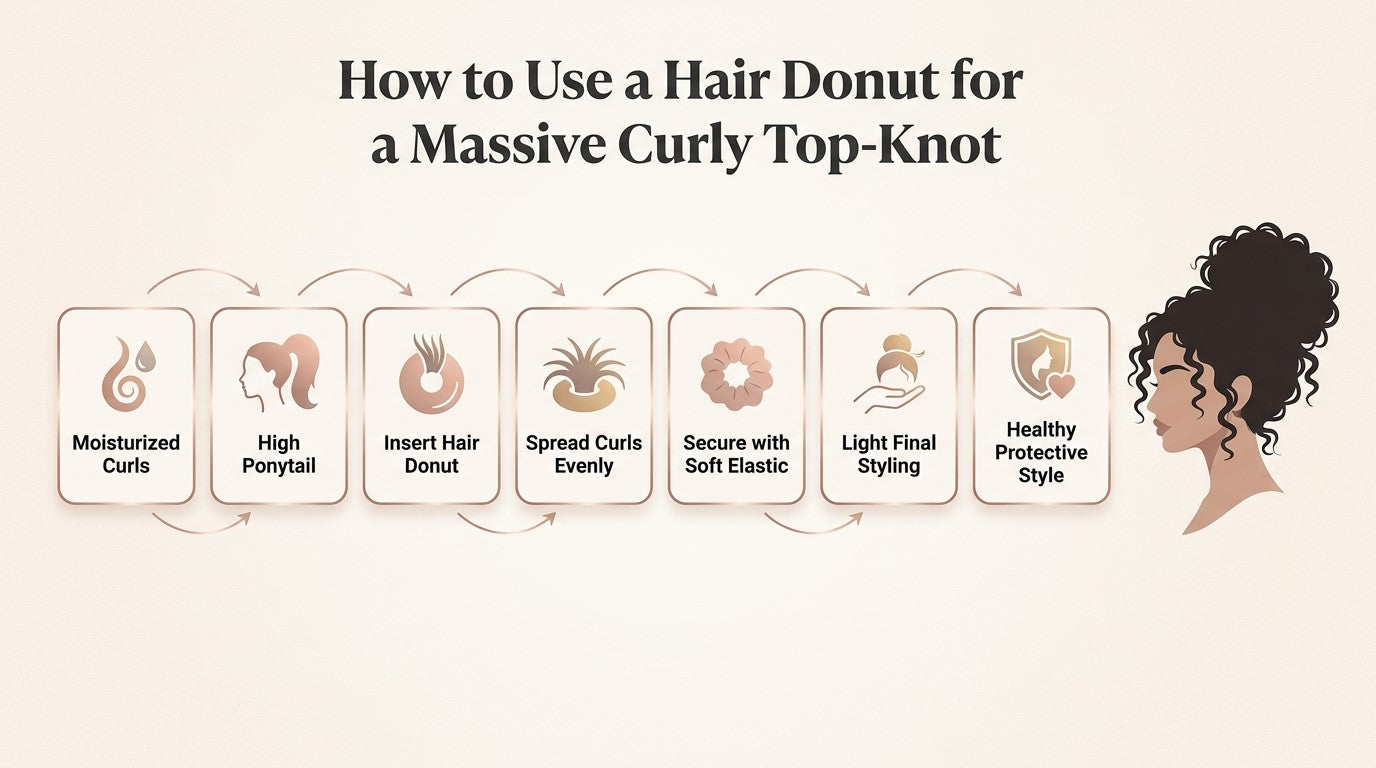
Step 1: Start with Moisturized Hair
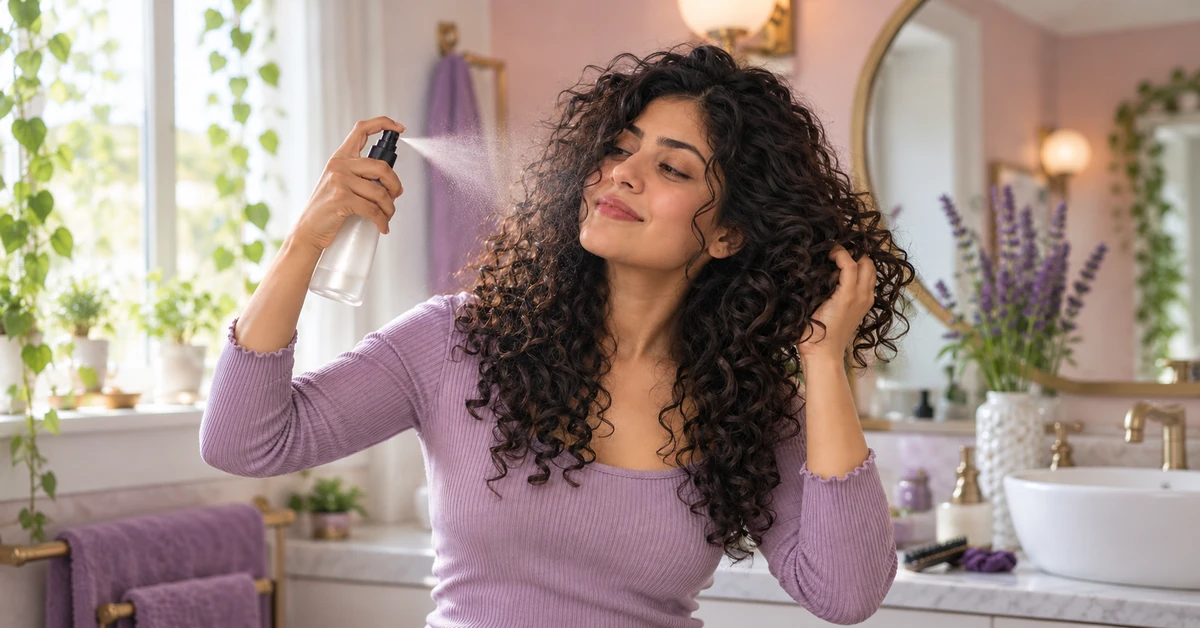
Dry curls are harder to style and more likely to break. Lightly mist your hair with water or apply a leave-in conditioner to improve softness and flexibility.
We always suggest working with hydrated curls first because moisture helps reduce tension and keeps the style looking smooth.
Step 2: Gather Hair into a High Ponytail
Flip your head forward and gently gather your curls toward the crown of your head. Use a soft scrunchie or a satin-friendly elastic to secure the ponytail.
Avoid pulling too tightly because excessive tension can stress the scalp and edges.
Step 3: Insert the Hair Donut
Slide the ponytail through the center of the hair donut and position it at the base.
Choose a donut size based on your hair length and desired volume. A larger donut creates a more dramatic top-knot.
Best Placement Tips for a Fuller Curly Bun
Step 4: Spread Curls Evenly
Fan your curls around the donut so it becomes fully covered. This creates the rounded bun shape.
Use your fingers instead of a brush to protect curl clumps and maintain natural texture.
Step 5: Secure with Another Hair Tie
Once the curls are spread evenly, place another soft elastic over the donut to hold everything in place.
Tuck the remaining ends around the bun and secure with bobby pins if needed.
Step 6: Finish with Light Styling
Use a lightweight curl refresher or edge-friendly styling cream around the hairline for a polished finish.
Avoid heavy gels that can create stiffness or flaking.
Common Mistakes to Avoid
Many curly top-knots fail because of a few simple mistakes:
- Starting with dry, tangled hair
- Pulling edges too tightly
- Using rough elastics
- Overusing heavy styling products
- Choosing the wrong donut size
A soft, balanced style always looks better than an overly tight bun.
Keep Your Top-Knot Healthy with the Right Hair Care
A beautiful bun starts with healthy curls underneath. Protective styles work best when your hair stays nourished between styling days.
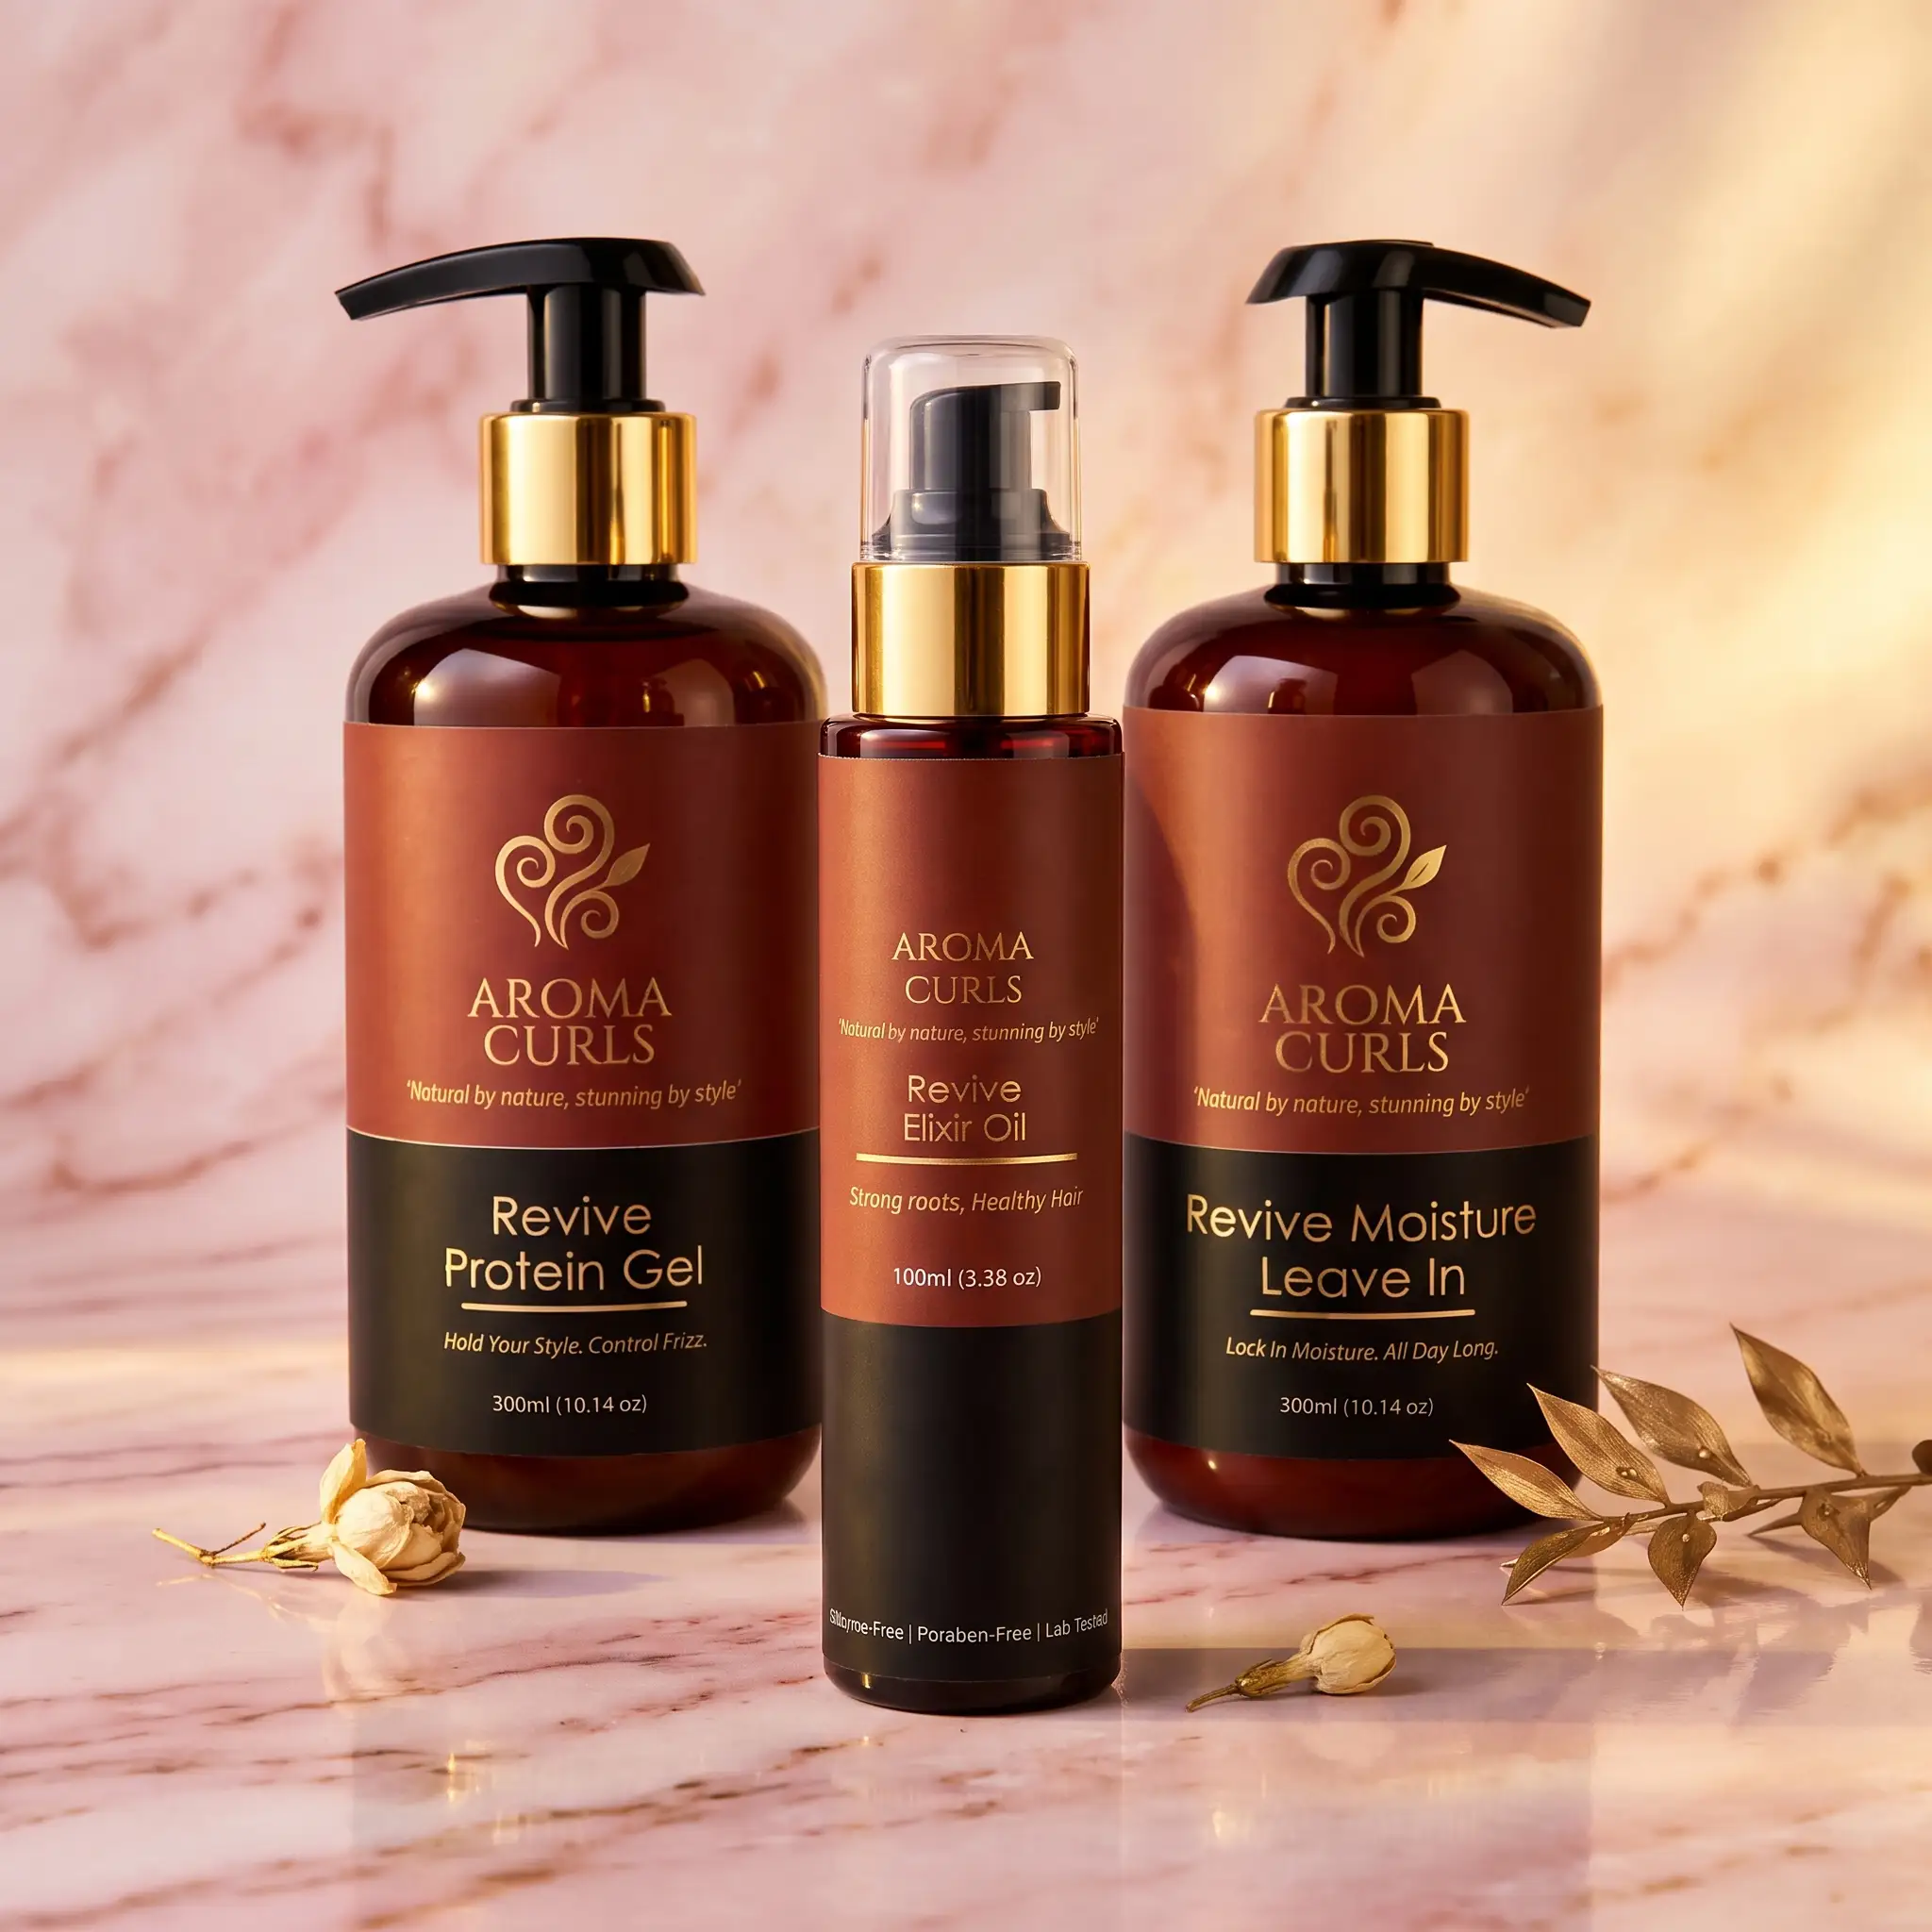
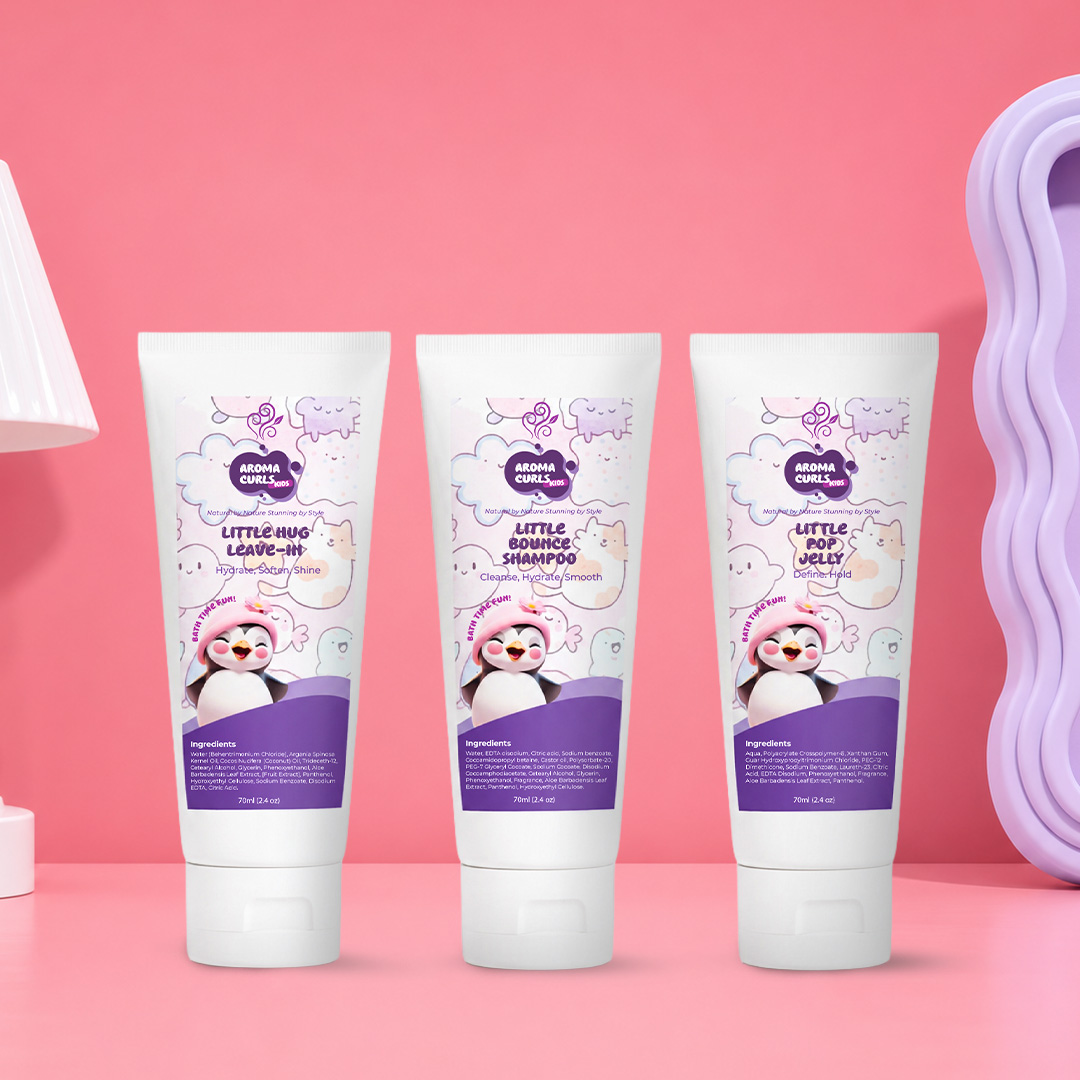
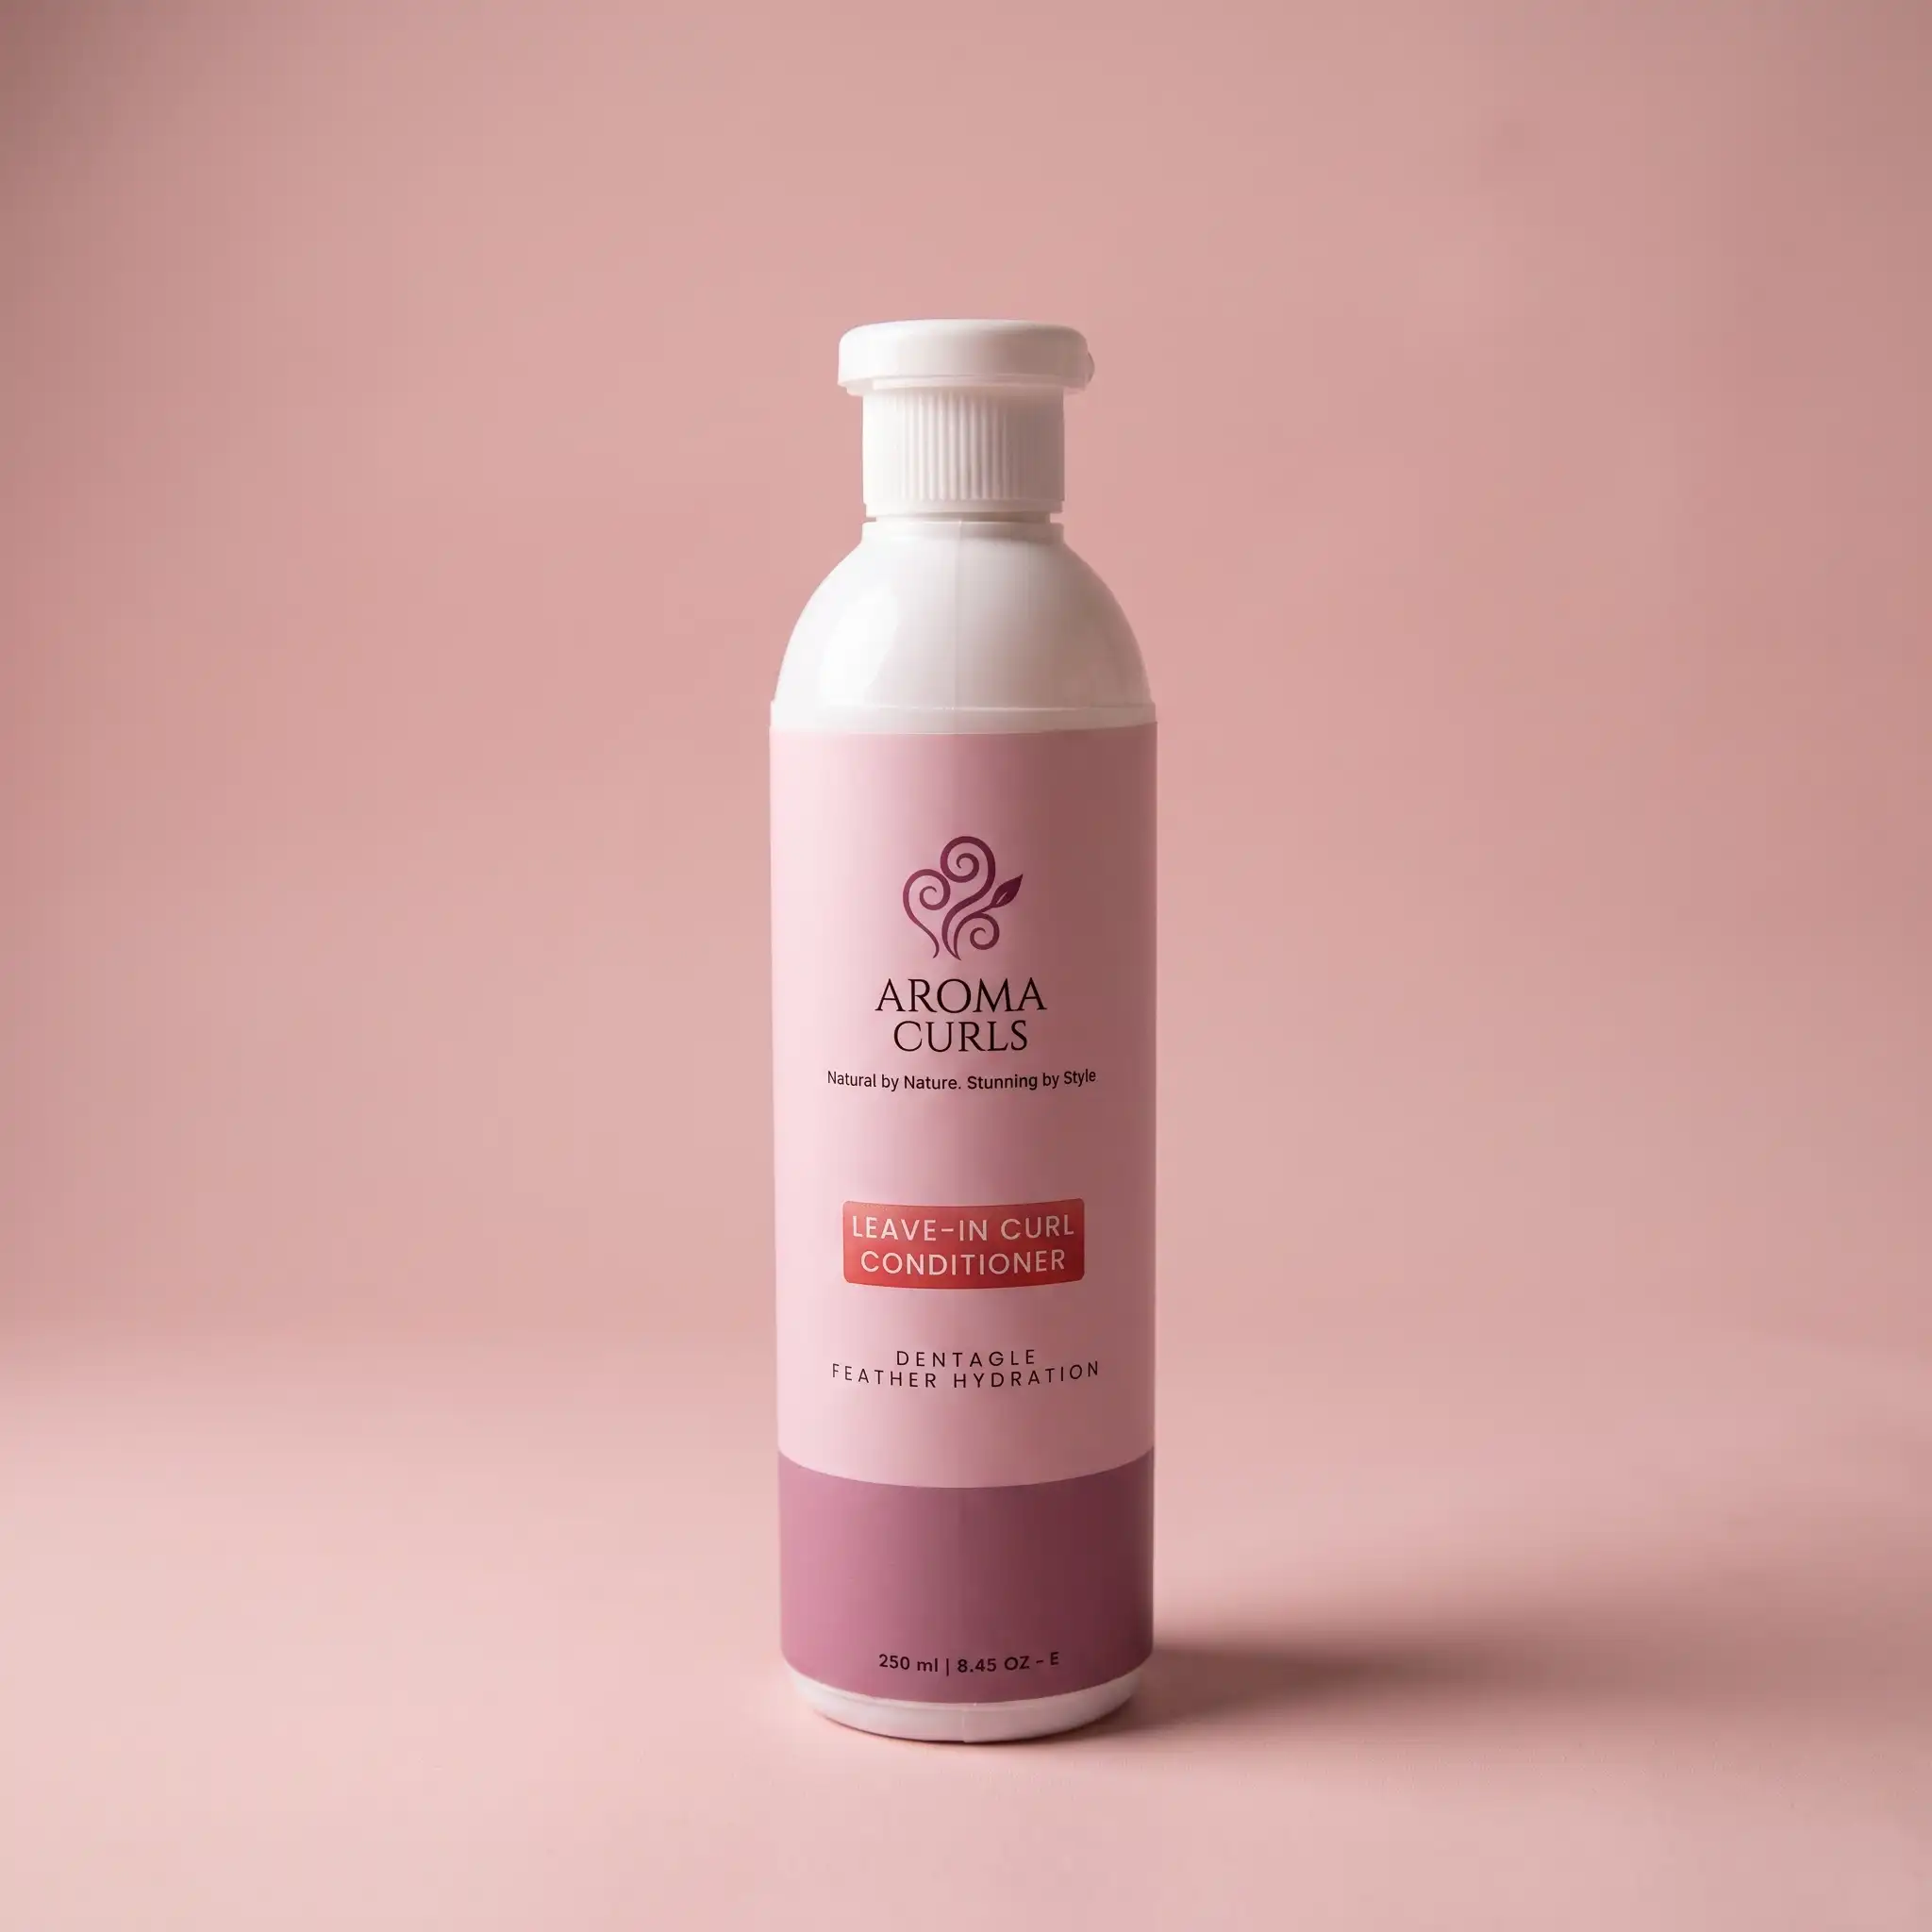
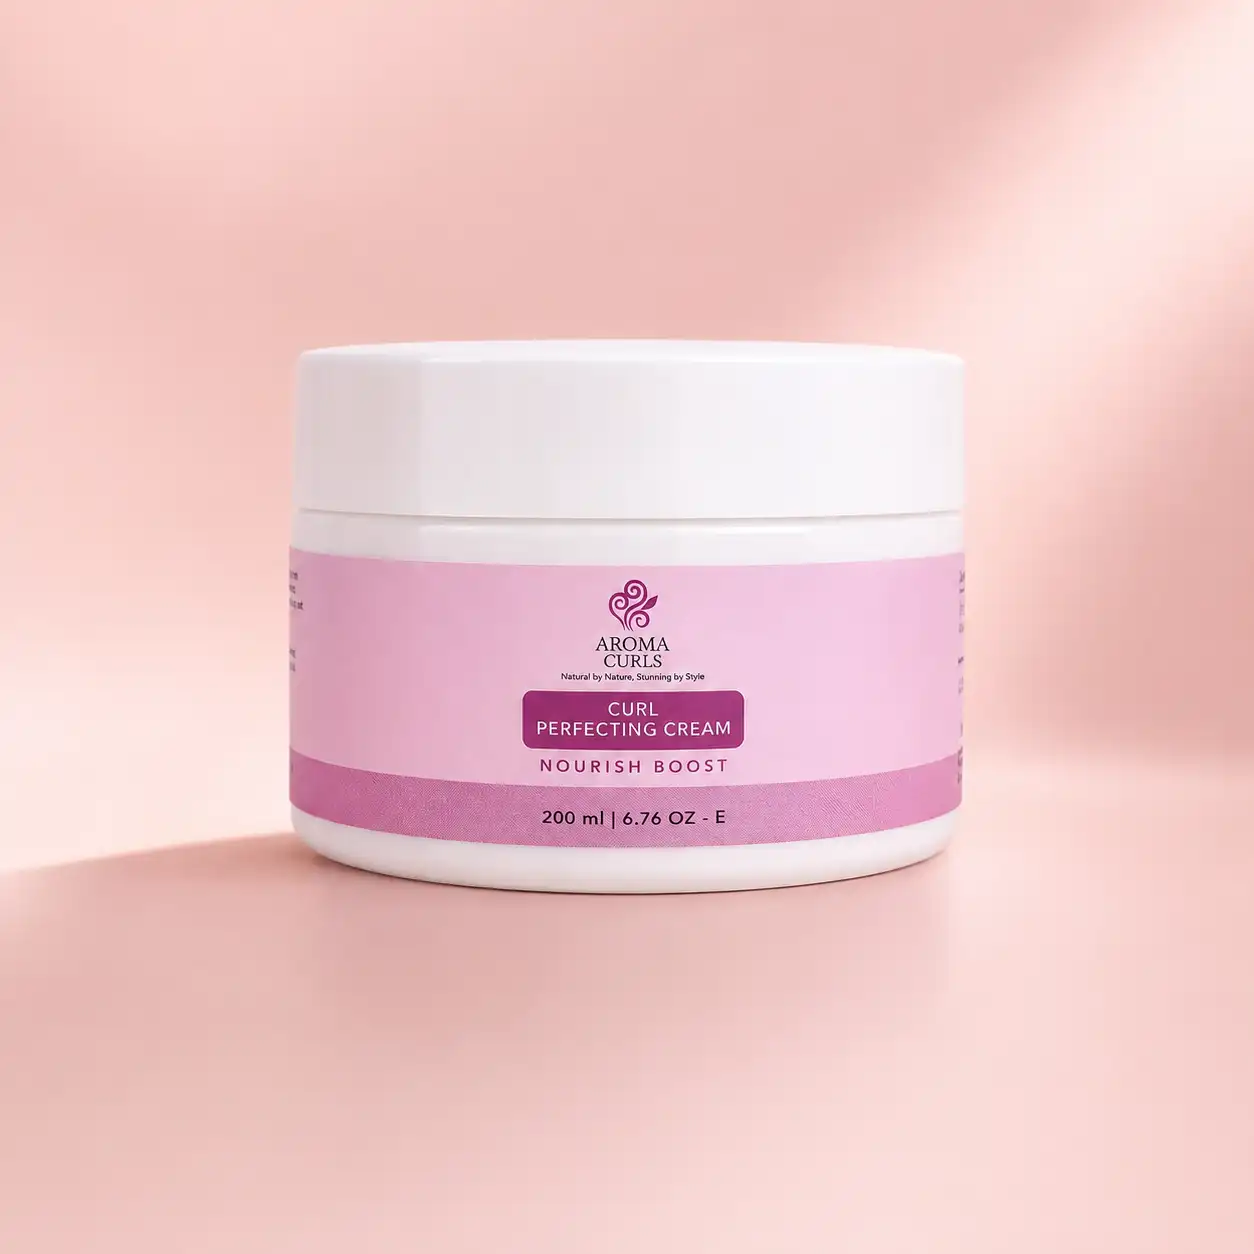
We create botanical, chemical-free formulas designed to support curl health for both adults and kids. Our organic collections help maintain moisture, softness, and scalp comfort, making styles like curly top-knots easier and healthier to wear. Whether you need daily hydration, gentle kids’ care, or complete curl bundles, our products are made to support natural texture without harsh ingredients.
Healthy curls create better styles, and better styles protect healthy curls.